SOP7 Starch solution make-up rev16
Scene 1 (0s)
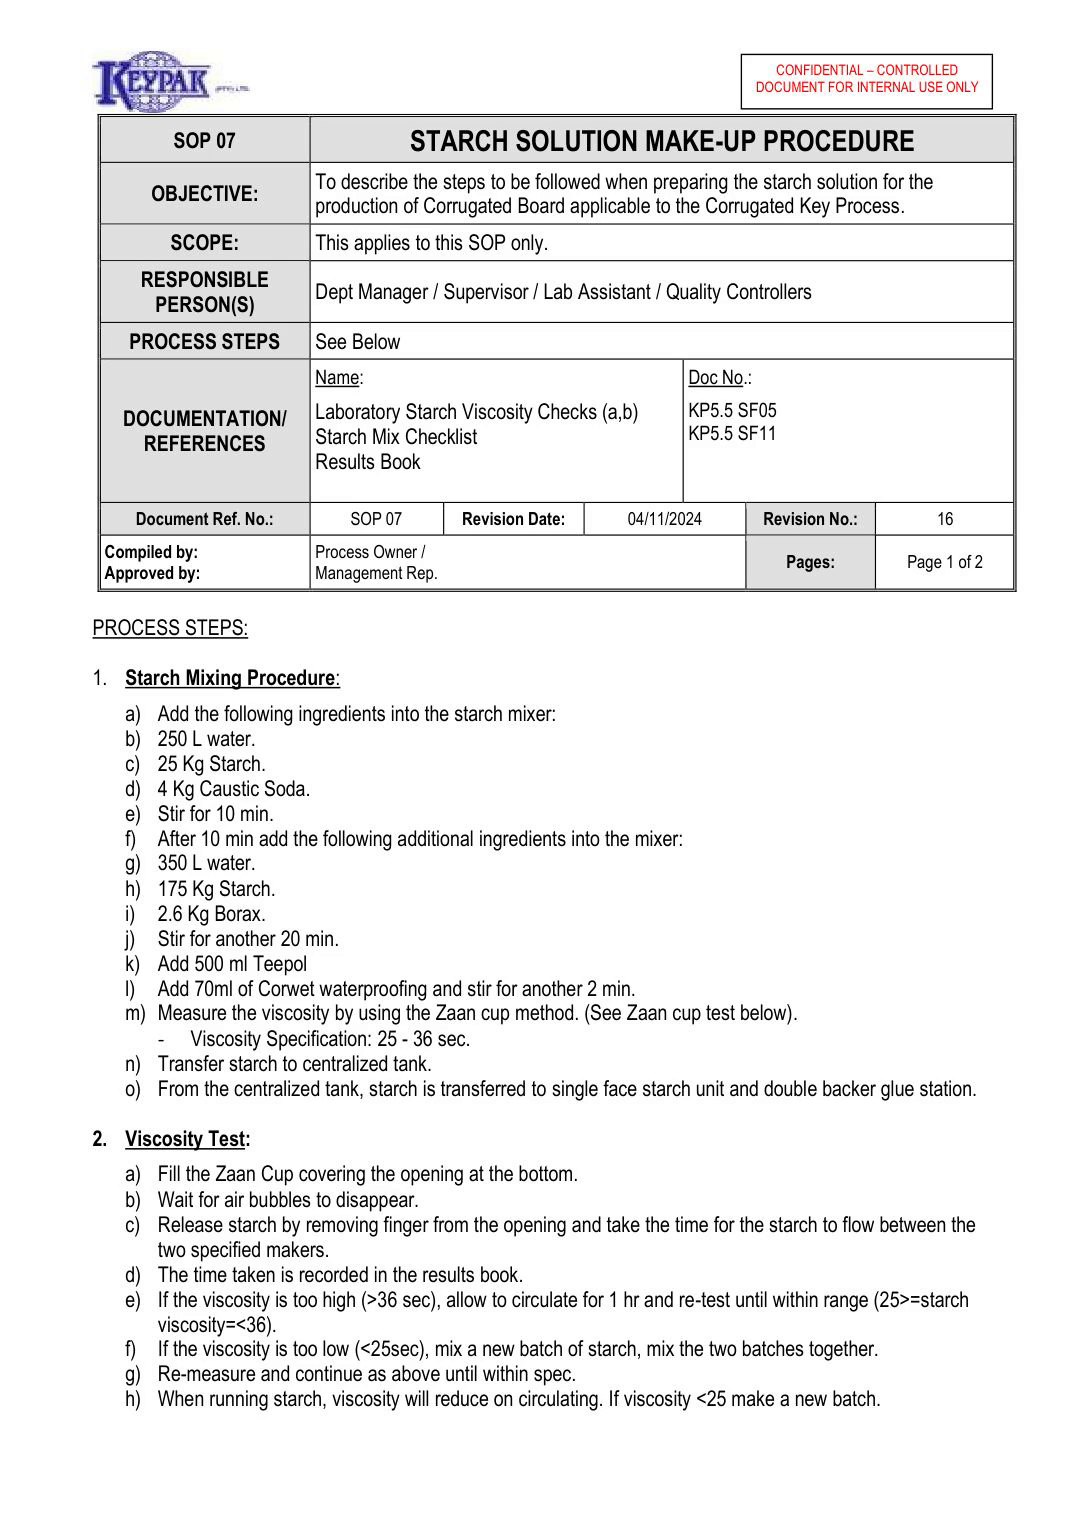
[Audio] CONFIDENTIAL – CONTROLLED DOCUMENT FOR INTERNAL USE ONLY SOP 07 STARCH SOLUTION MAKE-UP PROCEDURE OBJECTIVE: To describe the steps to be followed when preparing the starch solution for the production of Corrugated Board applicable to the Corrugated Key Process. SCOPE: This applies to this SOP only. RESPONSIBLE PERSON(S) Dept Manager / Supervisor / Lab Assistant / Quality Controllers PROCESS STEPS See Below Name: Doc No.: DOCUMENTATION/ REFERENCES KP5.5 SF05 KP5.5 SF11 Laboratory Starch Viscosity Checks (a,b) Starch Mix Checklist Results Book Document Ref. No.: SOP 07 Revision Date: 04/11/2024 Revision No.: 16 Compiled by: Approved by: Process Owner / Management Rep. Pages: Page 1 of 2 PROCESS STEPS: 1. Starch Mixing Procedure: a) Add the following ingredients into the starch mixer: b) 250 L water. c) 25 Kg Starch. d) 4 Kg Caustic Soda. e) Stir for 10 min. f) After 10 min add the following additional ingredients into the mixer: g) 350 L water. h) 175 Kg Starch. i) 2.6 Kg Borax. j) Stir for another 20 min. k) Add 500 ml Teepol l) Add 70ml of Corwet waterproofing and stir for another 2 min. m) Measure the viscosity by using the Zaan cup method. (See Zaan cup test below). - Viscosity Specification: 25 - 36 sec. n) Transfer starch to centralized tank. o) From the centralized tank, starch is transferred to single face starch unit and double backer glue station. 2. Viscosity Test: a) Fill the Zaan Cup covering the opening at the bottom. b) Wait for air bubbles to disappear. c) Release starch by removing finger from the opening and take the time for the starch to flow between the two specified makers. d) The time taken is recorded in the results book. e) If the viscosity is too high (>36 sec), allow to circulate for 1 hr and re-test until within range (25>=starch viscosity=<36). f) If the viscosity is too low (<25sec), mix a new batch of starch, mix the two batches together. g) Re-measure and continue as above until within spec. h) When running starch, viscosity will reduce on circulating. If viscosity <25 make a new batch..
Scene 2 (2m 34s)
[Audio] CONFIDENTIAL – CONTROLLED DOCUMENT FOR INTERNAL USE ONLY 3. Gel Point Test: a) Fill electric kettle with water and heat to boiling temperature. b) Measure out 40ml sample of starch adhesive into a glass beaker. c) Carefully immerse beaker into boiling water. d) Stir continuously using thermometer until the thickening effect is felt from the bottom of the beaker. e) Stir until adhesive starts gelling up, note temperature from thermometer. f) This becomes the gel point of the sample - Gel point: 60 – 65°C 4. Starch Room Tank Cleaning: a) The entire interior surface and all equipment must be cleaned after mixing each batch in the Starch kitchen (walls, floors, steps, etc.). b) Starch tanks to be flushed out weekly with chlorine solution. c) Centralised Starch Tank also to be flushed out with chlorine. d) All Glue stations and Starch Piping to be flushed and cleaned weekly with chlorine solution. SAFETY & HEALTH: - Ensure only authorized and trained staff in Starch room. - Correct PPE to be worn (earplugs, gloves, face-shield, mask, apron as applicable). - Face-shield to be worn when dispensing ingredients. ENVIRONMENTAL: - Ensure no starch washes out in storm water. - Spillage of all ingredients to be cleaned up and contained in separate container and safely disposed of. Compiled by: Approved by: Process Owner / Management Rep. Doc No. SOP 07 Rev.16 Pages: Page 2 of 2.