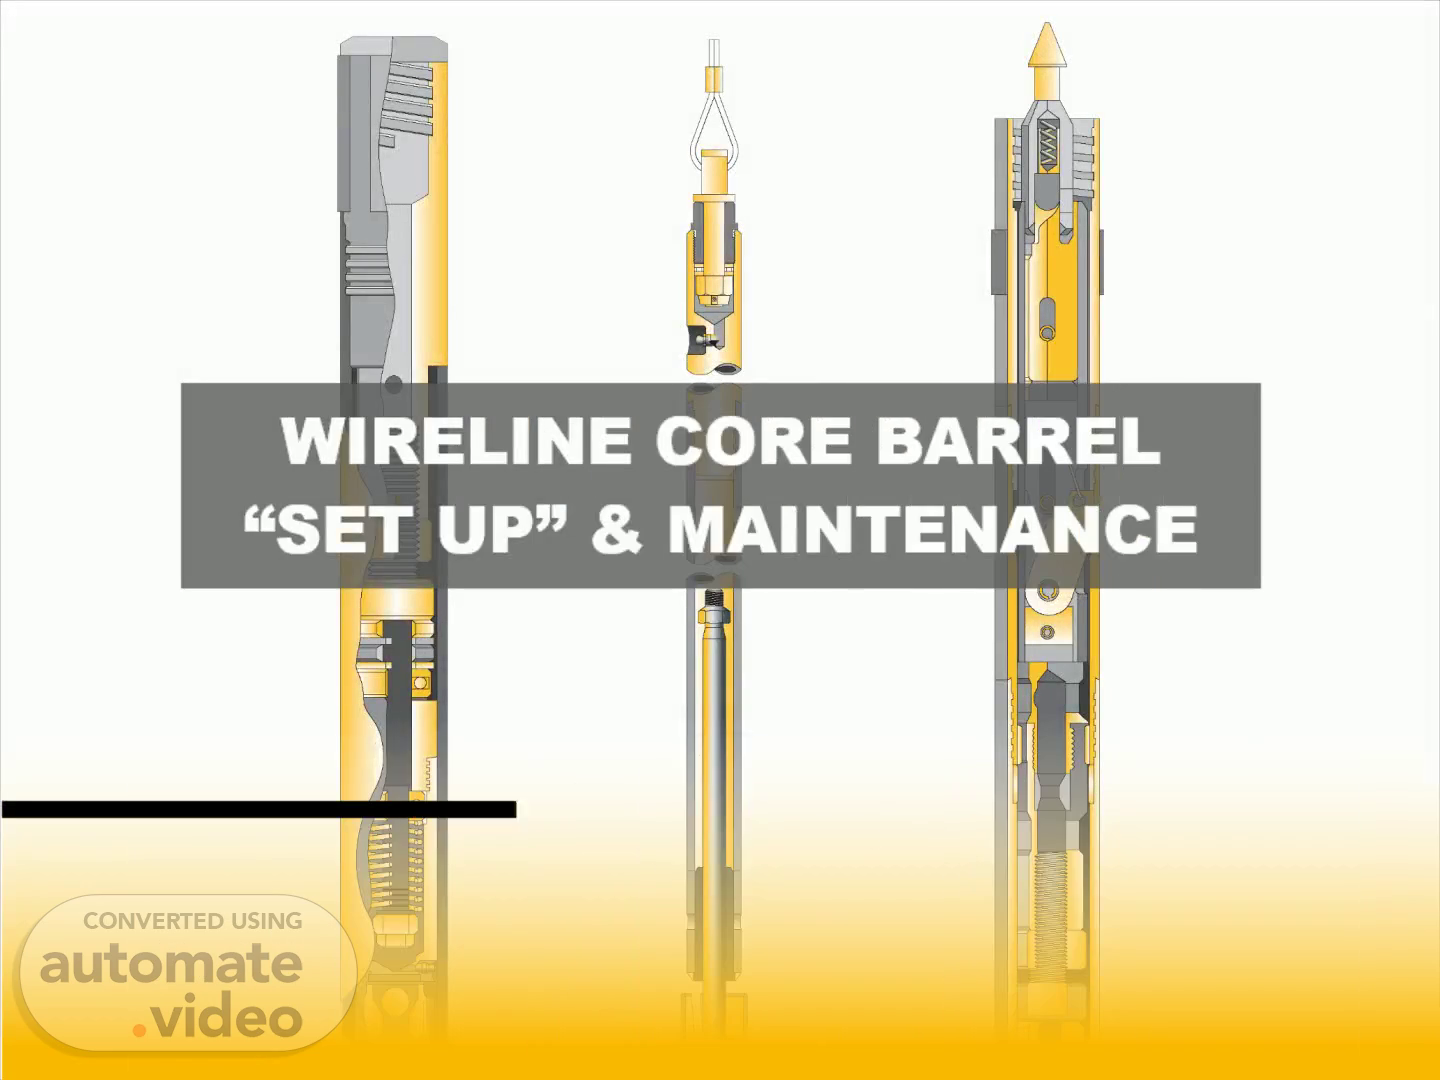
Scene 1 (0s)
ili. WIRELINE CORE BARREL “SET UP” & MAINTENANCE.
Scene 2 (14s)
[Audio] My name is Therrell Hannah . I am a SE Field representative for Central Mine Equipment Company. Tonight I will be covering set up and maintenance of a wireline core barrel. The illustrations shown cover parts and components of a standard WL or Q style barrel. I hope that this presentation will be helpful to you and your company in the future when rock coring projects arise..
Scene 3 (1m 7s)
[Audio] I would like to acknowledge the reference materials used for this presentation ..
Scene 4 (1m 22s)
[Audio] We will begin with an overview of conventional and wireline core barrels from ASTM D- 2113. This is a great resource pertaining to core drilling operations and coring equipment..
Scene 5 (2m 9s)
[Audio] Core barrels generally come in 5ft or 10ft core run lengths. Inner tube extensions are available to extend core barrels up to 20ft core run lengths. Most rock coring operations are performed with casing and core barrels whose sizes have been standardized by the DCDMA..
Scene 6 (2m 51s)
[Audio] ASTM D 2113 recognizes various types of conventional barrels , as well as wireline core barrels..
Scene 7 (3m 16s)
[Audio] Two common types of core barrels are single tube and double tube barrels. Please note the hangar bearing assembly on the double tube barrel..
Scene 8 (3m 36s)
[Audio] Figure 3 illustrates the Christensen design NWD- 4 conventional core barrel. This barrel cannot be converted to wireline..
Scene 9 (3m 58s)
[Audio] The NV and NV- 2 are recognized by the DCDMA , and may be converted to a wireline core barrel. The N designates the size of the barrel and the V designates its a conventional barrel..
Scene 10 (4m 29s)
[Audio] The NV-2 cuts a 2" core with a box to pin thread inner tube . The NV cuts a 1- 7/8: core size and has a pin to pin thread inner tube. The outer tubes are the same..
Scene 11 (5m 0s)
[Audio] The DCDMA Technical Manual illustrates the conversion of an NV conventional core barrel to an NWL wireline core barrel. The WL designates the barrel is a wireline core barrel..
Scene 12 (5m 30s)
[Audio] The DCDMA also recognizes the conversion of a NV-2 core barrel to NWL- 2 wireline core barrel..
Scene 13 (5m 58s)
[Audio] Conversion of the NWL core barrel to NWL-3 core barrel is illustrated on page 13 . Please note the NWL- 2 core barrel cannot be converted to NWL- 3..
Scene 14 (6m 28s)
[Audio] Per ASTM D- 2113 : Wireline core barrels are essentially a double tube swivel type core barrel..
Scene 15 (6m 50s)
[Audio] D- 2113 describes just a few advantages of wireline core barrels including reduction in rod handling time , increased bit life and high core recovery ..
Scene 16 (7m 25s)
[Audio] One disadvantage of wireline core barrels are their more expensive cost versus that of a conventional barrel..
Scene 17 (7m 42s)
[Audio] Page 17 illustrates the standard and triple tube core sizes available.
Scene 18 (8m 16s)
[Audio] Various wireline drill rod dimensions are indicates in Table 3. Please note their " nesting" characteristics..
Scene 19 (9m 5s)
[Audio] Please refer to the "hand out" illustrating parts of a wireline core barrel. I will briefly "touch " on a few of the components and their wear characteristics. The spearhead is the upper most component of the inner tube assembly , and acts as the connection to the overshot when retrieving the inner tube. The spearhead should be checked periodically for wear at the point area..
Scene 20 (9m 59s)
[Audio] Items 6 thru 15 describe components that make up the latching assembly..
Scene 21 (10m 40s)
[Audio] Latches , springs , and roll pins should be inspected often for wear and fatigue..
Scene 22 (11m 11s)
[Audio] Please note item 14 the landing shoulder . The landing shoulder positions the inner tube so length adjustments can be made. If the landing shoulder is not included on the latch body the core barrel will not function. Also mismatched sizing of the landing shoulder and landing ring will cause the core barrel not to function properly. If wear is shown on landing shoulder , it may be "flipped " over to expose a new contact surface toward the landing ring..
Scene 23 (12m 13s)
[Audio] The lower and upper latch bodies , and the lock nut should be routinely checked for " tightness". Please note when threading the lock nut onto the spindle , the numbered side of the nut should be facing downward. Also the spindle should periodically be inspected for wear , or damage ..
Scene 24 (12m 53s)
[Audio] Shut off valves and washers play a role in restricting water flow when there is a potential core block or full inner tube. The restriction results in an increase in water pressure on the water pressure gauge which alerts the operator of the restriction of water flow. The shut off valves and washers should be inspected before and after every core run..
Scene 25 (13m 42s)
[Audio] Page 24 describes the functions of the thrust bearing , spindle bearing and hanger bearing. The bearings should routinely be lubricated & checked for any bearing play ..
Scene 26 (14m 16s)
[Audio] The inner tube cap is screwed onto the spindle assembly . The grease fitting allows lube access to the compression spring and hangar bearing. Item 27 the check ball allows for a free decent mode and also prevents any water pressure from entering the inner tube while drilling..
Scene 27 (15m 2s)
[Audio] The compression spring allows downward movement of the inner tube and core lifter case to rest on the inside bevel of the bit. This transfers the load of breaking the core from the IT latches to the drill string. It is important not to over tighten the spring , as it will damage the shut off valves and bearings..
Scene 28 (15m 45s)
[Audio] One way to distinguish an NWL inner tube from NWL- 2 inner tube is to remember that an NWL tube is pin to pin thread and houses a 1- 7/8" core . The NWL-2 tube is box to pin thread and houses a 2" core . These tubes are available in chrome plated or plain steel..
Scene 29 (16m 32s)
[Audio] The core lifter and lifter case assist in retrieving core. They should be cleaned and oiled after every core run & the lifter should move freely inside the lifter case. If core slippage occurs , it is recommended that the core lifter , core lifter case & stop ring be replaced..
Scene 30 (17m 20s)
[Audio] Pictured are a few configurations of core lifters available..
Scene 31 (17m 32s)
[Audio] The top components of the outer tube are the locking coupling , adapter coupling and landing ring. It is important to check that the landing ring is installed into the recessed area located just below the top outer tube thread . The core barrel will not function properly without a landing ring. Also , the landing ring may be flipped over to extend the wear life. The locking coupling is generally equipped with hard facing or carbide on the OD. If these surfaces are worn down , the coupling should be replaced..
Scene 32 (18m 31s)
[Audio] Please note the illustration of just a few different styles of locking couplings available...
Scene 33 (18m 45s)
[Audio] The outer tube is available in chrome and non chrome. The inner tube stabilizer is brass and located inside the reaming shell. The Inner tube stabilizer should not be used as a landing ring ..
Scene 34 (19m 28s)
[Audio] Grouping the inner tube parts , we begin with the spearhead assembly – Stage 1. The purpose of the spearhead is to connect the overshot for inner tube removal..
Scene 35 (19m 52s)
[Audio] During assembly of the spearhead , please remember to use proper ppe and tools. Avoid pinch points..
Scene 36 (20m 20s)
[Audio] An completed spearhead assembly is pictured in the lower right..
Scene 37 (20m 33s)
[Audio] We will now move to stage 2 the latching assembly. Its purpose is to lock the inner tube in place and connect it to the outer tube. Please remember to install the proper size landing shoulder onto the latch body. The core barrel will not function properly without the proper size landing shoulder ..
Scene 38 (21m 15s)
[Audio] Please remember proper ppe and tools during assembly..
Scene 39 (21m 45s)
[Audio] Pages 38 and 39 detail the assembly of the latches , springs and pins..
Scene 40 (22m 13s)
[Audio] Next slide. 40. WIRELINE CORE BARREL ASSEMBLY & INSTRUCTIONAL MANUAL.
Scene 41 (22m 50s)
[Audio] Stage 2 Latching assembly is completed.. 41.
Scene 42 (23m 0s)
[Audio] The bearing assembly , stage 3 separates the rotating components of the inner tube assembly from the static components of the inner tube assembly..
Scene 43 (23m 31s)
[Audio] Included in the bearing assembly are the shut off valves , hanger bearing , thrust bearing and spindle bearing. Inspect the valves and bearings after each core run , and lubricate or replace as needed..
Scene 44 (24m 6s)
[Audio] Please note to install the open side of the hanger bearing facing up towards the threads of the spindle..
Scene 45 (24m 31s)
[Audio] Do not overtighten the compression spring , as this will cause a pre load on the shut off valves. Also , please be sure to install the check ball in the open end of the inner tube cap..
Scene 46 (25m 1s)
[Audio] The lower right image illustrates a completed bearing assembly. Stage 3..
Scene 47 (25m 23s)
[Audio] Pages 47 thru 49 detail the assembly of stages 1 ,2, and 3 for the final inner tube head assembly ..
Scene 48 (25m 47s)
[Audio] Next slide. 48. WIRELINE CORE BARREL ASSEMBLY & INSTRUCTIONAL MANUAL.
Scene 49 (26m 4s)
[Audio] Please note the final inner tube head assembly in the lower right hand corner..
Scene 50 (26m 17s)
[Audio] Be careful not to distort or dent the inner tube during the assembly process of the inner tube head assembly..