Scene 1 (0s)
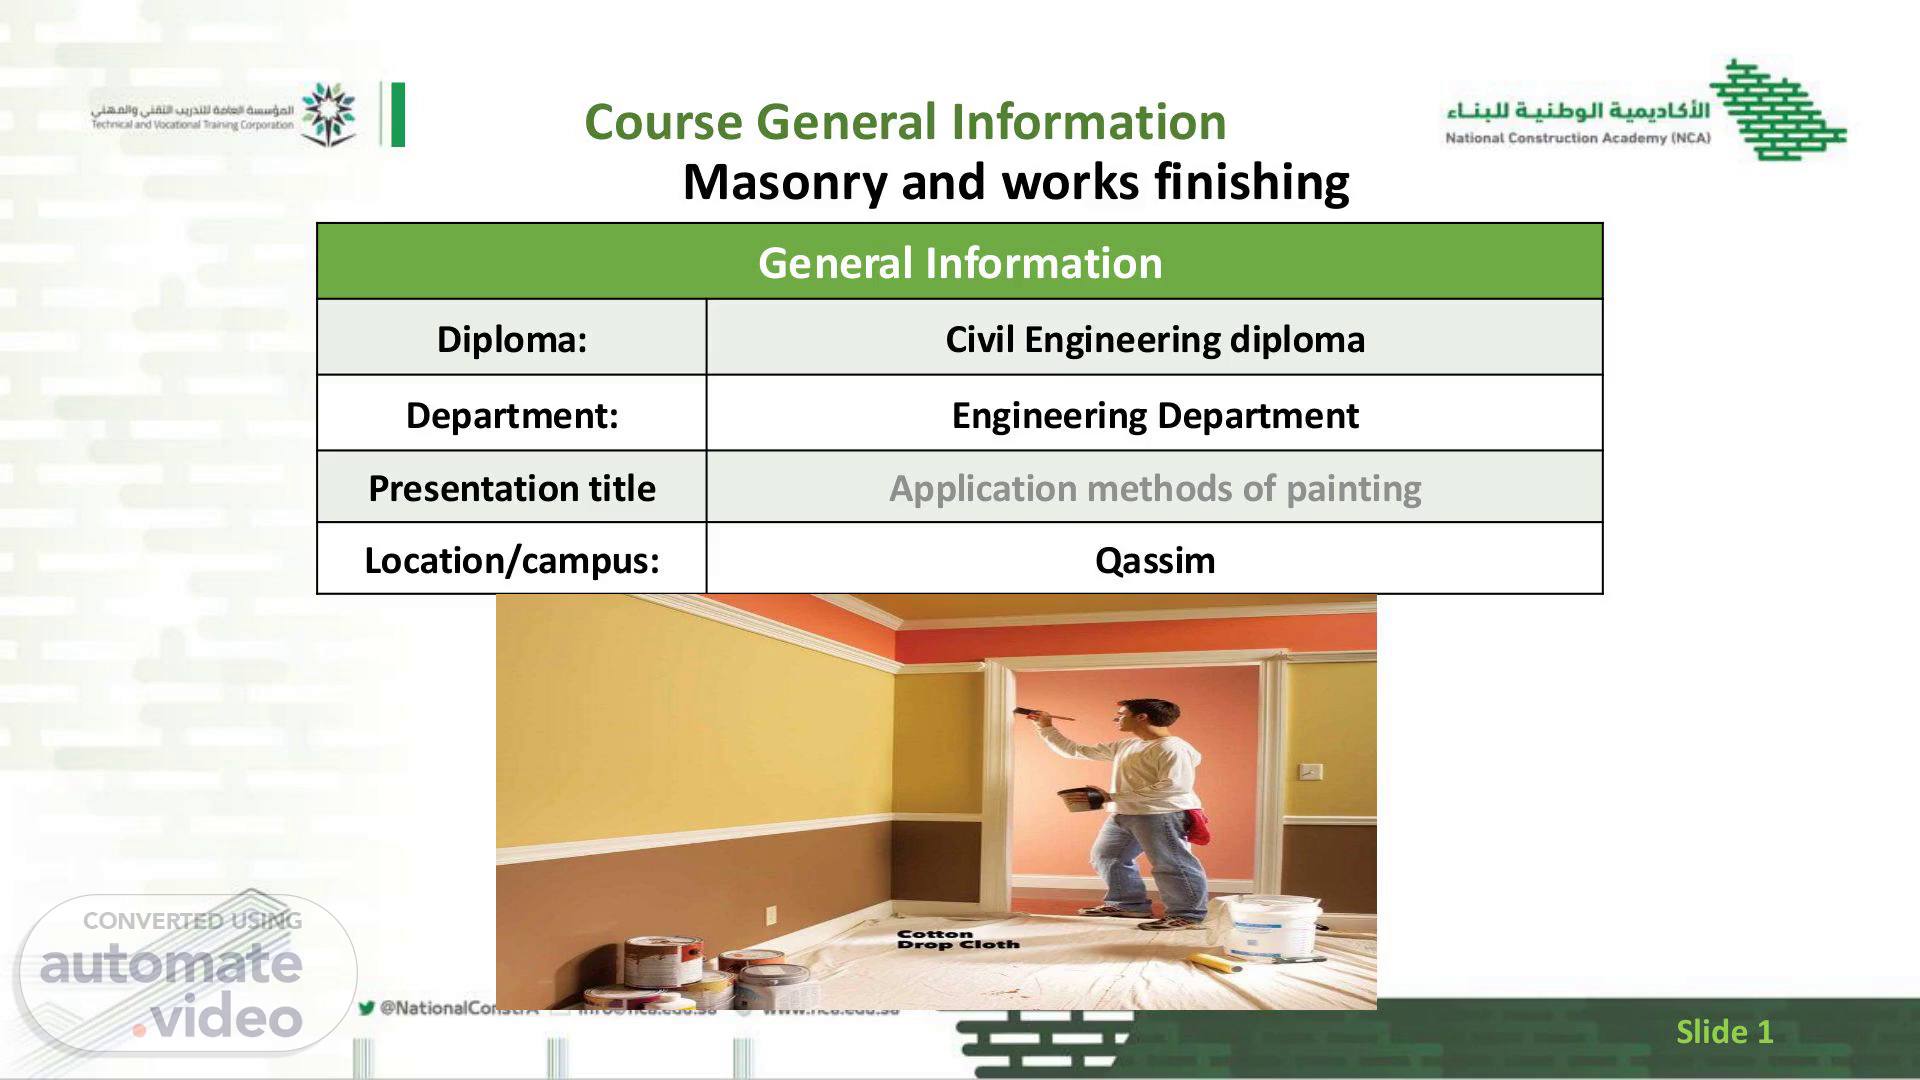
[Audio] Course General Information Masonry and works finishing General Information Diploma: Civil Engineering diploma Department: Engineering Department Presentation title Application methods of painting Location/campus: Qassim Slide 1.
Scene 2 (17s)
[Audio] introduction Overview of Masonry Wall Blocks: Masonry wall blocks, commonly made from concrete or brick, are durable and widely used in construction. They provide structural support and insulation. Importance of Painting: Painting masonry walls serves multiple purposes: it enhances aesthetics, protects against moisture and weathering, and prevents mold and mildew growth. Proper application can significantly extend the lifespan of the masonry. Objective of the Presentation: This presentation will delve into effective application methods, essential tools, and best techniques to achieve the ultimate finish on masonry wall blocks. Slide 2.
Scene 3 (1m 1s)
[Audio] Key Words Aesthetic: Concerned with beauty or the appreciation Adhesion: The ability of a substance to stick or bond Porous: Having small holes or spaces that allow liquid of beauty; often used to to a surface; crucial in describe design and artistic painting for ensuring layers elements. stay intact. or air to pass through; relevant in masonry as it affects paint absorption. Priming: The process of applying a preparatory coat Curing: The process of hardening or setting, of paint to improve adhesion and create a particularly in reference to paint or concrete, which Durability: The ability to withstand wear, pressure, or damage; an important quality in paint for longuniform surface before the requires specific conditions lasting results. final coat. for optimal results. Slide 3.
Scene 4 (2m 0s)
[Audio] Lesson Objectives Understand Key Methods: To familiarize the audience with various painting methods, including brushing, rolling, and spraying, and their appropriate applications. Identify Essential Tools: To provide knowledge about the tools required for effective masonry wall painting, ensuring proper preparation and execution. Learn Preparation Techniques: To emphasize the importance of surface preparation and priming for achieving optimal paint adhesion and durability. Master Layering Techniques: To explain the significance of applying base and final coats, including the benefits of layering for a high-quality finish. Slide 4.
Scene 5 (2m 42s)
[Audio] Tools Tools Needed 1. Paint Brushes: Various sizes (angled and flat) for detail work and edges. 2. Paint Rollers: Different nap lengths for smooth or textured finishes. 3. Spray Gun: For large areas; offers a quick, even application. 4. Drop Cloths: Protect floors and surrounding areas from paint splatter. 5. Painter's Tape: Ensures clean lines and protects adjacent surfaces. Slide 5.
Scene 6 (3m 16s)
[Audio] Tools 1. Ladder or Scaffolding: 2. For reaching high walls safely. 3. Paint Tray: Holds paint for roller application and helps control paint use. 4. Pressure Washer: Cleans the masonry surface before painting. 5. Putty Knife: Used for filling cracks or repairing damaged areas. 6. Caulk Gun: For applying sealants or caulks to fill gaps and prevent moisture ingress. Additional Tools (if needed): Sandpaper or Abrasive Pads: For smoothing rough surfaces. Stir Sticks: To mix paint thoroughly before application. Safety Gear: Masks, gloves, and goggles to ensure protection during the painting process. Slide 6.
Scene 7 (4m 3s)
[Audio] Types of painting techniques Choosing the Right Method: Consider the size of the project, the texture of the masonry, and desired finish. Combining methods (for example, brushing for edges and rolling for flat areas) can yield the best results. Slide 7.
Scene 8 (4m 21s)
[Audio] Types of application techniques Brushing: Advantages: Ideal for detailed work and hard-to-reach areas. Provides better control for intricate designs and edges. Technique: Use a high-quality brush and apply paint in even strokes. Work from the top down to avoid drips. Slide 8.
Scene 9 (4m 41s)
[Audio] Types of application techniques Tape Edges Apply painter's tape along the edges of baseboards, trim, and any areas you don't want to paint. Press down firmly to ensure a clean line and prevent paint from seeping underneath. Mix and Load Paint Stir the paint thoroughly to ensure an even color. Pour a small amount into a paint tray. Dip your brush into the paint, then tap off the excess against the side of the tray to avoid drips. Cut In and Paint Cut In: Start by painting the edges of the wall where it meets the ceiling and corners. Use a 2 to 3-inch brush for better control. Main Area: After cutting in, use a larger brush to paint the main areas. Work in sections, using long, even strokes, and blend the edges where you cut in. Slide 9.
Scene 10 (5m 32s)
[Audio] Types of application techniques youtu W-0-I Slide 10.
Scene 11 (5m 40s)
[Audio] Types of application techniques Rolling: Advantages: Efficient for covering large, flat surfaces quickly. Can produce a smooth finish depending on roller texture. Technique: Load the roller with paint and apply using a "W" or "M" pattern to ensure even distribution. Follow with straight strokes to smooth out. Slide 11.
Scene 12 (6m 2s)
[Audio] Types of application techniques Mix and Load Paint Stir the paint thoroughly to ensure an even color. Pour a small amount into a paint tray. Use the roller to soak up the paint, then roll it along the tray's ridges to remove excess paint and prevent drips. Cut In First Use a brush to "cut in" around edges, corners, and any detailed areas. This means painting a strip about 2–3 inches wide where the roller can't reach. This will help you achieve clean lines and make the roller application easier. Roll the Walls Start rolling from the top corner of the wall. Use a W or M motion to apply paint evenly. Work in sections, overlapping slightly with the previously rolled area to avoid streaks. Reload the roller as needed and continue until the entire wall is covered. Slide 12.
Scene 13 (6m 51s)
[Audio] Types of application techniques youtu TqE Slide 13.
Scene 14 (6m 59s)
[Audio] Types of application techniques Spraying: Advantages: Fastest method for large projects; achieves a uniform coat. Ideal for textured surfaces where a brush or roller might miss crevices. Technique: Use a spray gun with a consistent distance from the wall. Overlap each pass slightly to prevent streaks. Wear protective gear to avoid inhalation of fumes. Slide 14.
Scene 15 (7m 25s)
[Audio] Types of application techniques Set Up the Sprayer Fill the paint sprayer with the appropriate paint, following the manufacturer's instructions. Adjust the nozzle and pressure settings according to the type of paint and desired finish. Test the spray on a scrap piece of cardboard to ensure it's working correctly. 4. Practice Your Technique Before spraying the actual wall, practice your technique. Hold the sprayer about 12-18 inches from the wall and move it in a steady, even motion. Use a sweeping motion and overlap each pass slightly to avoid streaks and ensure even coverage. youtu Dm0?si=QeGYK7uLu74yeXs w 5. Spray the Walls Begin spraying from one corner of the wall, moving from top to bottom in sections. Keep the sprayer at a consistent distance from the wall and maintain a steady speed. After the first coat dries (check the paint can for drying times), assess if a second coat is necessary and repeat the spraying process. Slide 15.
Scene 16 (8m 32s)
[Audio] Types of application techniques youtu Slide 16.
Scene 17 (8m 40s)
[Audio] Layering your coats and drying period Base Coat: The base coat is crucial as it creates a foundation for the top layers. It enhances adhesion and improves the overall durability of the finish. Typically, a primer or an initial coat of paint is used that is compatible with the masonry surface. This coat helps to seal the porous material, preventing the top coats from being absorbed unevenly. Applying a base coat can also help in achieving a more vibrant final color. Slide 17.
Scene 18 (9m 13s)
[Audio] Layering your coats and drying period Final Coat: The final coat is applied after the base coat has dried completely and provides the desired aesthetic finish. This layer adds color and protection, ensuring that the masonry is shielded from weather elements. It should be chosen based on the desired finish—matte, satin, or gloss. Applying multiple thin layers of the final coat is recommended for better coverage and durability. Each layer should be allowed to dry before applying the next to prevent runs and ensure an even finish. Slide 18.
Scene 19 (9m 49s)
[Audio] Layering your coats and drying period Layering: Layering involves applying multiple coats of paint, with each layer serving a specific purpose, from adhesion to aesthetic appeal. It is essential for achieving depth of color and enhancing durability, especially in exterior applications. Slide 19.
Scene 20 (10m 11s)
[Audio] Layering your coats and drying period Drying Times: Always refer to the manufacturer's instructions for recommended drying times between coats. Proper drying ensures that each layer adheres well, preventing issues like peeling or blistering in the future. Slide 20.
Scene 21 (10m 31s)
[Audio] Recap questions What are the most common challenges when painting masonry walls? How do weather conditions affect the painting process? Can you use any type of paint on masonry, or are there specific recommendations? What preparation steps are necessary before applying a base coat? How can I determine the right tools for my specific project? What are the benefits of using a primer before the final coat? How often should masonry walls be repainted to maintain their appearance? Slide 21.
Scene 22 (11m 1s)
[Audio] conclusion In conclusion, painting masonry wall blocks is essential for both aesthetic appeal and protection against the elements. Utilizing the right application methods, tools, and techniques can significantly enhance the durability and finish of your project. Proper surface preparation and attention to detail are crucial for achieving the best results. Regular maintenance will ensure the longevity of the paint job, preserving the beauty of your masonry. By following these guidelines, you can create a professional-looking finish that stands the test of time. Slide 22.