Scene 1 (0s)
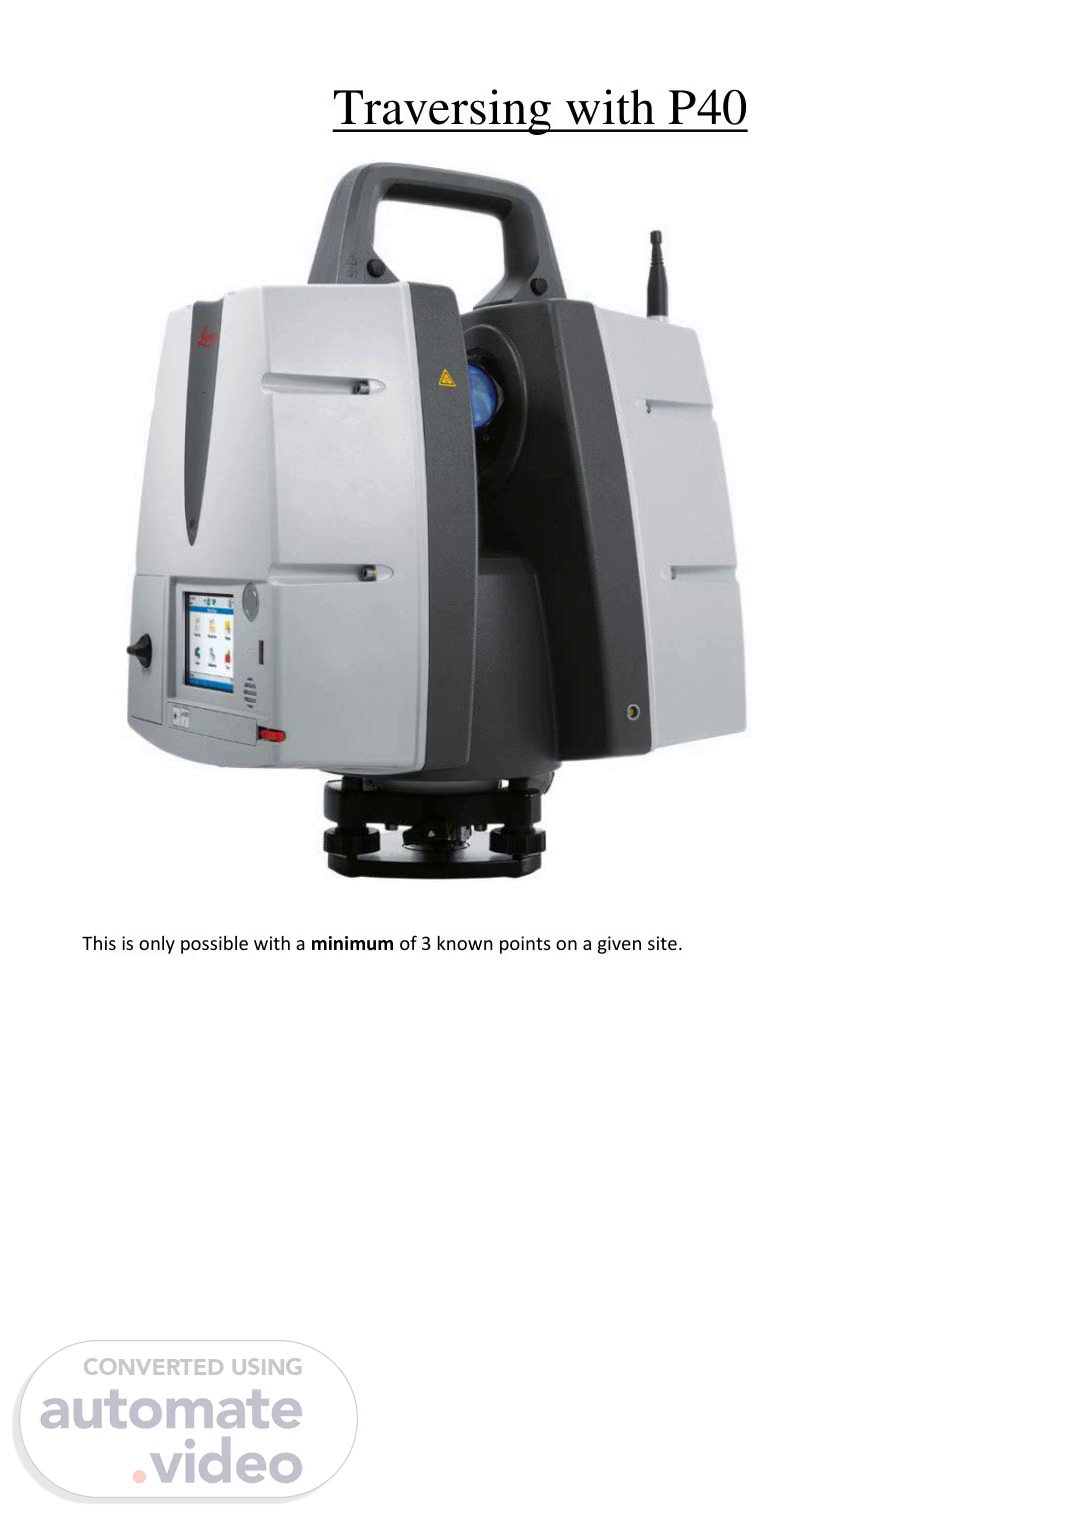
Traversing with P40 This is only possible with a minimum of 3 known points on a given site..
Scene 2 (7s)
1. Place your legs over the nails, use the P40 unit (digital level and laser) to level both sets of legs (as you would with the Total station traverse, swap the P40 unit between the tribrachs)..
Scene 3 (12s)
2. Create a New Project (Job No-Area-Date-Initials).
Scene 4 (16s)
3. Go to Scanning > Setup. Select Quick Orientation. Note: Ignore the Traverse tile. There are in fact two methods for traversing with the P40, Pawel recommends the Scanning tile method (and this guide is written specifically for the Scanning tile method)..
Scene 5 (29s)
4. In ‘Station Setup’ add ‘New’ point. For the Point Easting, Northing and Height, type 0-0-0. The real co-ordinates will be added during the processing..
Scene 6 (42s)
5. In the P40’s box, there should be a specific tape measure. That is for measuring the Instrument Height. It looks like this..
Scene 7 (51s)
Please note that the scanner measure tape is different to TS measure tape. Although they look identical, they have different offset values!.
Scene 8 (1m 0s)
It should also have a special clip that attaches to the tribrach, which looks like this..
Scene 9 (1m 6s)
The end of the tape measure slots into the clip like this..
Scene 10 (1m 9s)
Measure the Instrument Height. The black plastic tab on the tape measure (circled) needs to be sticking out and resting on the nail. Use the tape measure lock to fix the tape on the measurement. Then you can lift the tape measure up to read the measurement (through the triangular clear plastic viewfinder). It should look like this..
Scene 11 (1m 27s)
The red line is the Instrument Height (1.621m in this case). Good practice: note the instrument heights of all your stations in a notebook. The screen on the P40 should look like this..
Scene 12 (1m 41s)
Press Set. 6. Go into Target. The Target ID will be STN2 (as it’s your second known point). The Target Type needs to be Leica B/W 4.5". Repeat Step 4 to measure the Target Height for STN2. Once you’ve done that, the P40 screen should look like this. Where it says Pick Method, select Video Image..
Scene 13 (1m 48s)
Now press PickT..
Scene 14 (2m 15s)
7. This puts the P40 into a camera mode. Move the P40's camera so that the B/W target on STN 2 appears on the screen, like so. Press the little target icon, and use your finger to roughly overlay the cross-hatch on the screen with the centre of the STN2 target. It doesn't need to be spot on as the P40 should be able to automatically pinpoint the centre of the target on its own. Then press the little tick icon. With the P40, shooting with 2 Faces is optional. For a 1 Face shoot, press Meas..
Scene 15 (3m 4s)
Then use the little target icon and P40 touchscreen to touch towards one of the bottom corners of the screen. Like this:.
Scene 17 (3m 11s)
8. The result looks like this. In the list view (^ left), it should say the state is "Ok" but you can double-check by Pressing View (^ right). There should be a crosshatch in the Scan Preview (not shown in my photo as I pressed the shutter 1 second before the scan was finished…). 9. Now do a typical P40 3½ minute 360° scan. With a P40 traverse, the print-out B/W targets that we typically use are not needed because all of the data is stored in the same job (and will all be imported into/visible in the one Cyclone file). 10. Now swap the P40 unit and B/W 4.5” target between tribrachs - you need to shoot from STN2 back to STN1 as a Known Backsight. Go back to the Setup Screen. Change the Setup Method to Known Backsight, like so..
Scene 18 (4m 8s)
Tip: If it helps you to remember what you were doing (because of a pause/likely distraction), go back to the Project selection screen here (right), before then going in and selecting Known Backsight. It may help you to get back into your flow once the distraction’s gone away. 11. Now repeat Steps 3-8. Except your Station ID is now STN2 and Target ID will be STN1 make sure the scanner identified the stations correctly (including instrument and target height!). Once the backsight target is scanned it will show the results. Press set..
Scene 19 (4m 50s)
12. Once the backsight is set, you can now pause the traverse, and switch to the 3-D scanning task - just continue in the displayed window, picking correct scan resolution..
Scene 20 (5m 1s)
When the 360 scan is finished, press ‘Target’ again and continue the traverse to where the scans are needed. From STN2, shoot the 4.5” B/W on an arbitrary, unknown point(A1, A2, etc). You do not need to take an Instrument Height measurement for the unknown point (leave it as 0). Once that’s been shot, then swap the units (target from A1 goes to STN2, and scanner from STN2 goes to A1). Shoot the back sight to STN2 and continue the traverse. Rule: When shooting to a known point, you must always have the Instrument Height. When shooting to an unknown point, it's 0. Remember to use at least 3 known point along the traverse, always using the actual instrument height over known point!).